Step by step installation

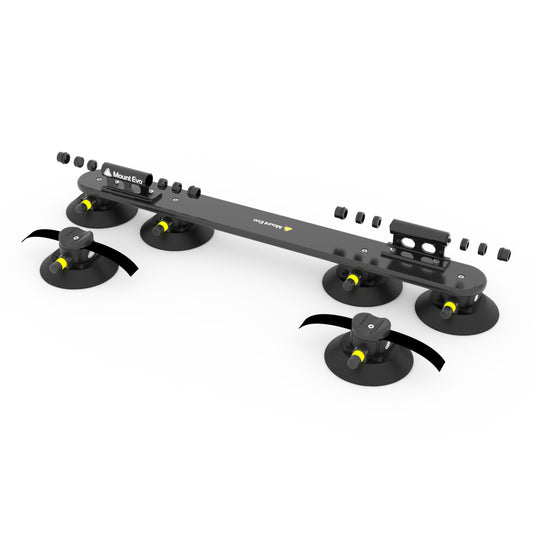
Placing Sherpa on your vehicle
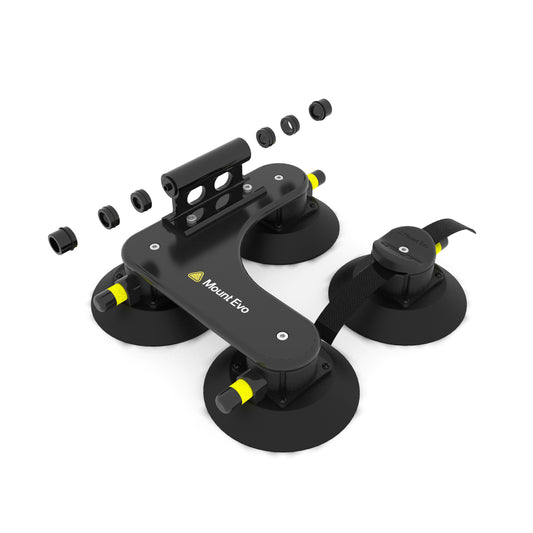
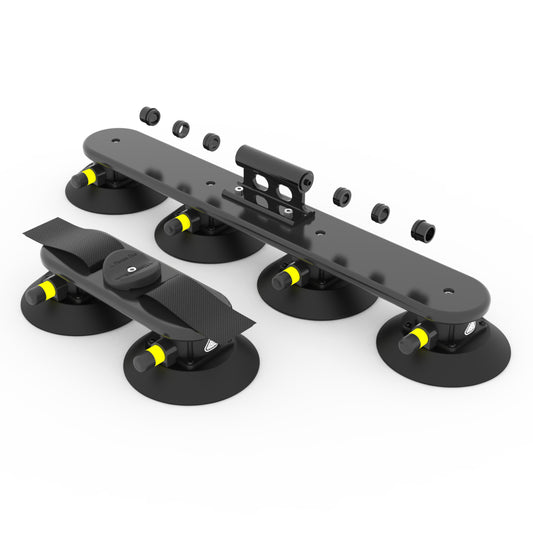
Take both Sherpa mounts with vacuum cups attached and place on the roof of the car width ways. Space the mounts accordingly for the board/item you’ll attach to Sherpa. Bear in mind the size of the board when doing this step.

Fixing Sherpa to your vehicle
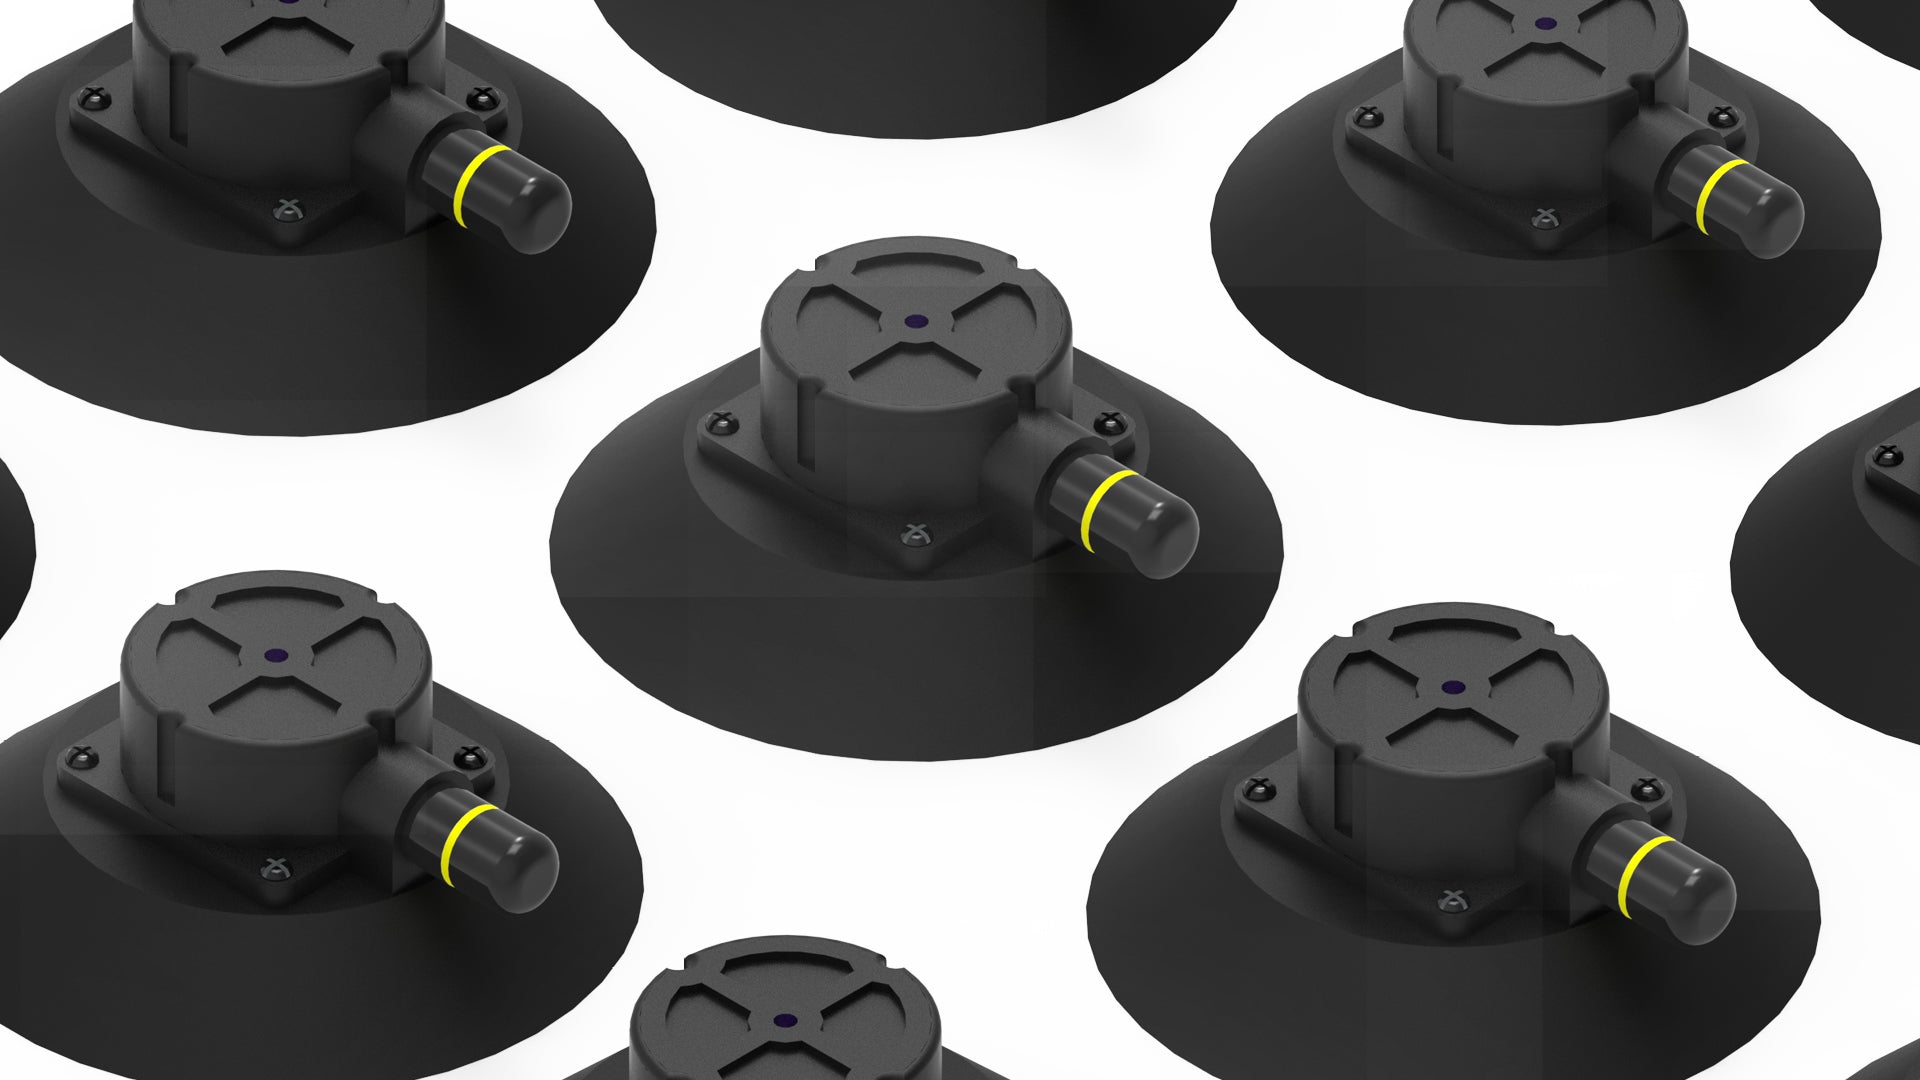
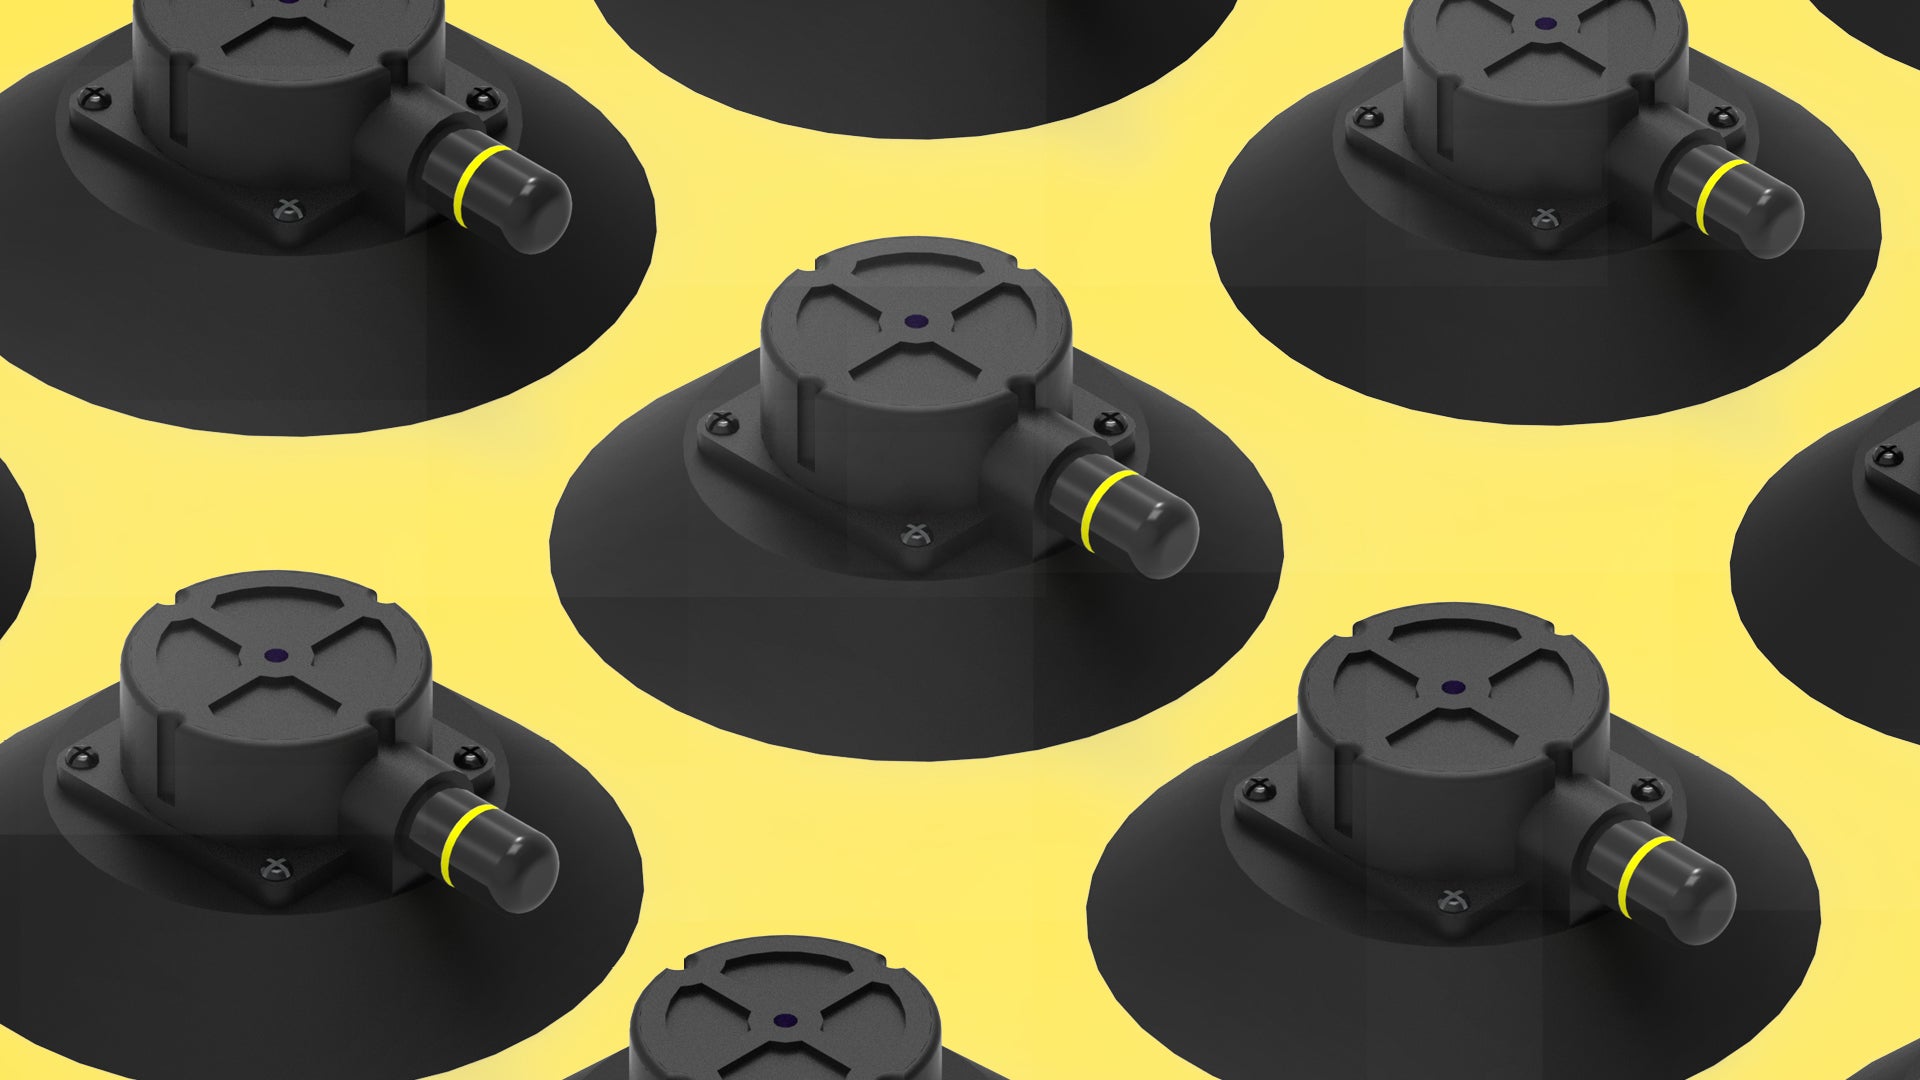
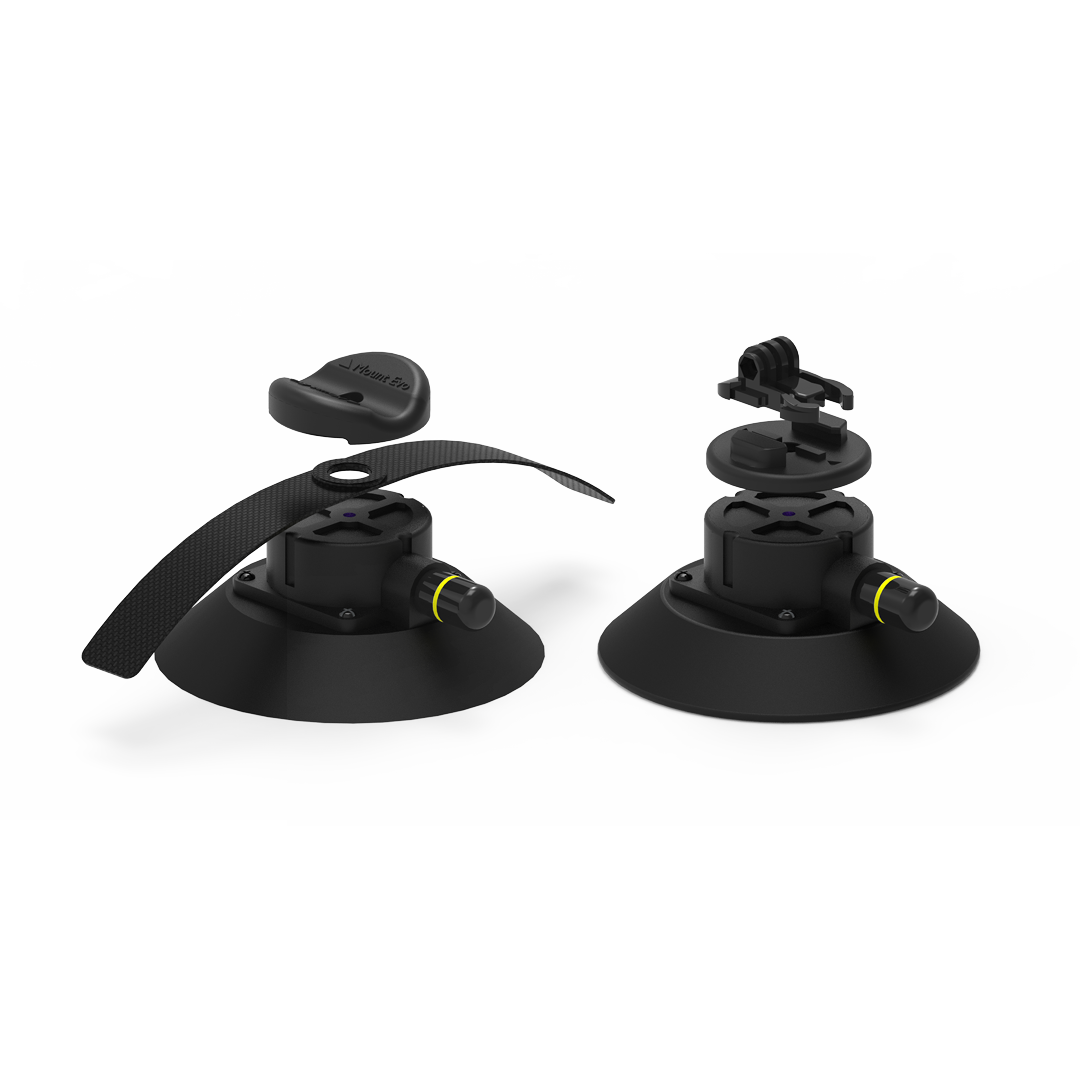
Now that Sherpa is positioned appropriately for the load and vehicle, we can fix Sherpa to the car. To do this, you will need to pump the plunger on the side of each vacuum cup. Once the yellow band on the side of the plunger disappears, the vacuum cup is secure. Repeat this with all 6 vacuum cups.

Placing your board on Sherpa
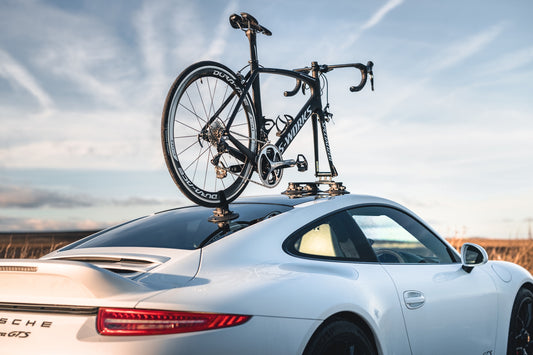
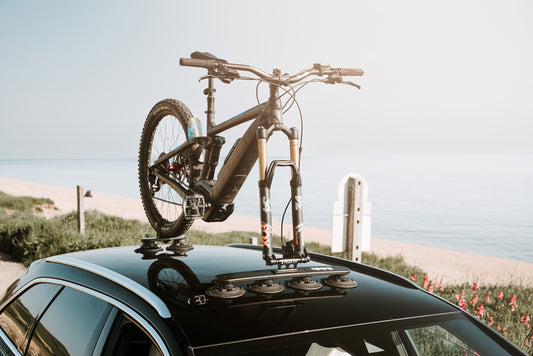
Place your board on Sherpa so that when resting, it is balanced evenly between the two Sherpa mounts. Your board should be facing forwards and in the direction of travel of the vehicle.

Fixing your board to Sherpa
Using the two supplied straps you need to wrap each strap in a figure of eight around the board and Sherpa on both the front and rear mount. This should be repeated as many times possible with the length of strap provided. There should be no movement between the board and Sherpa.
How to remove Sherpa

Remove your board
Release the clasp on each strap to untie the board from Sherpa; you can then lift your board off of Sherpa.

Remove Sherpa
lift the lift tab on each of the vacuum cups. This will release the vacuum and allow you to remove Sherpa from your vehicle
Transport your equipment.
-
Solo Bike Rack
Regular price €329,99 EURRegular priceUnit price per -
E-Solo Electric Bike Rack
Regular price €459,99 EURRegular priceUnit price per -
Duo Bike Rack
Regular price €479,99 EURRegular priceUnit price per -
Sherpa Multipurpose Rack
Regular price €479,99 EURRegular priceUnit price per