Solo installeren en verwijderen
Kijk hoe we Solo installeren
Stap voor stap installatie
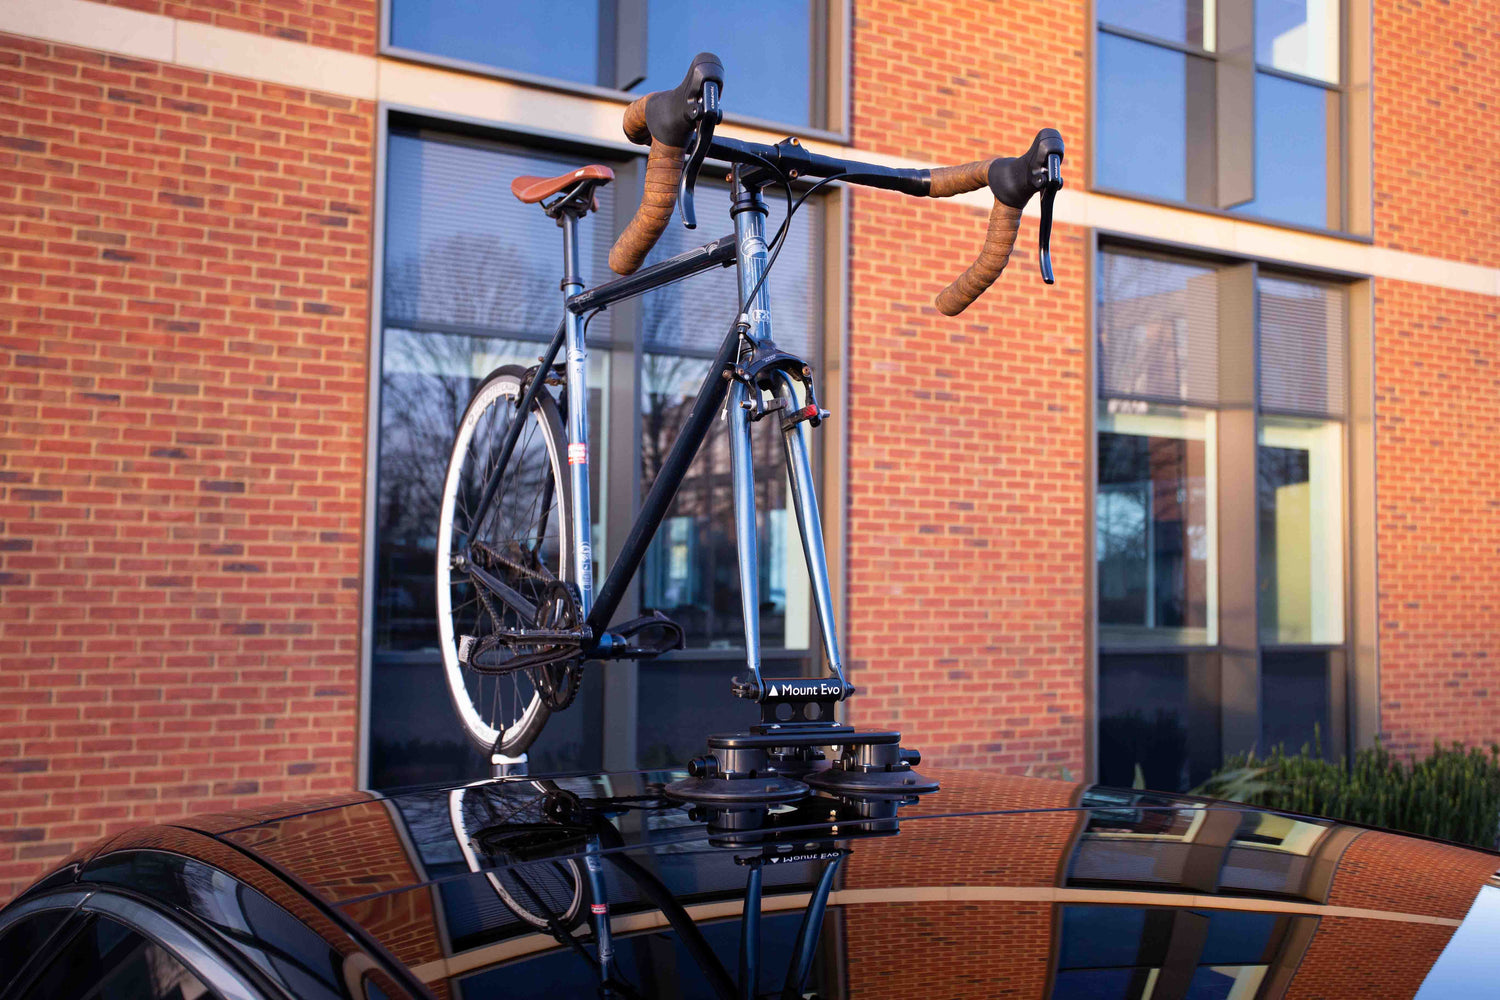
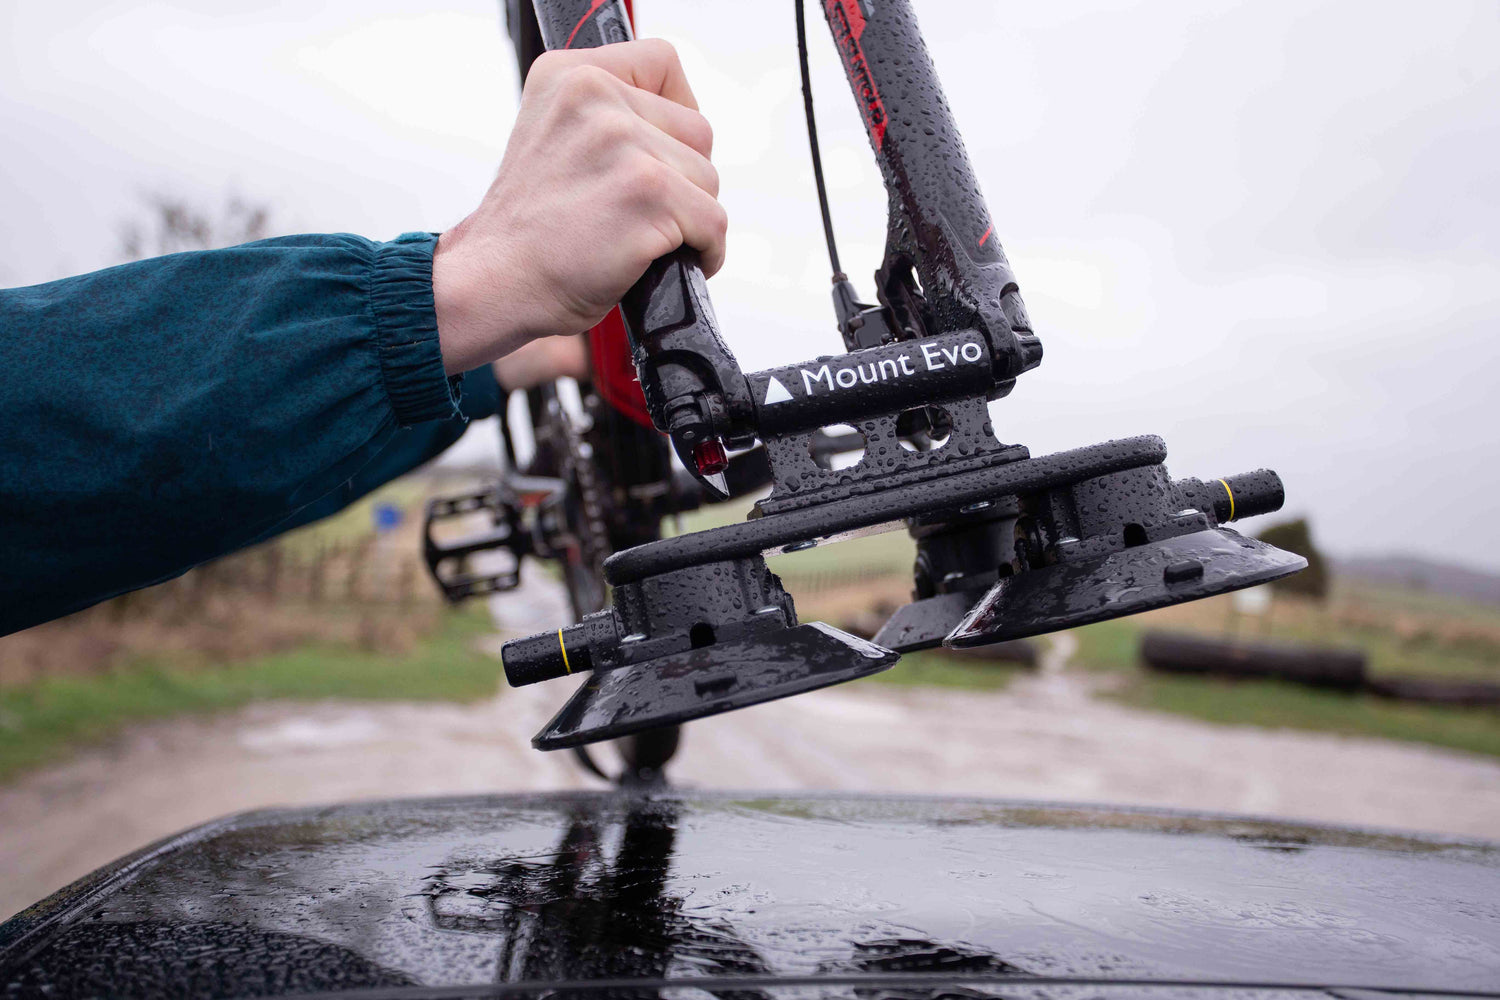
Je fiets aan Solo bevestigen
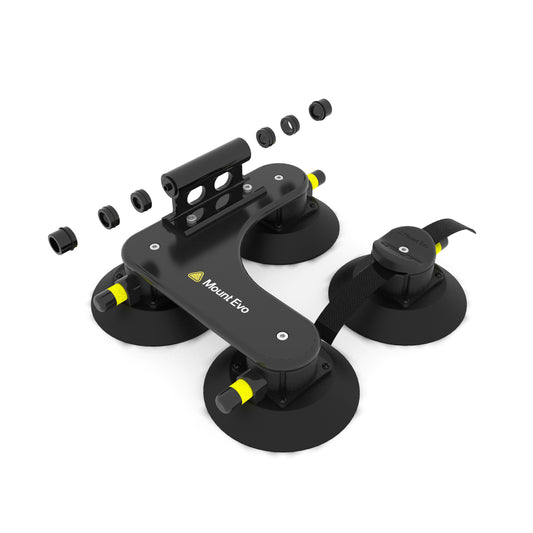
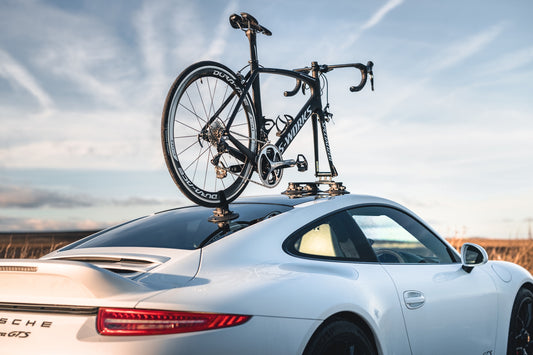
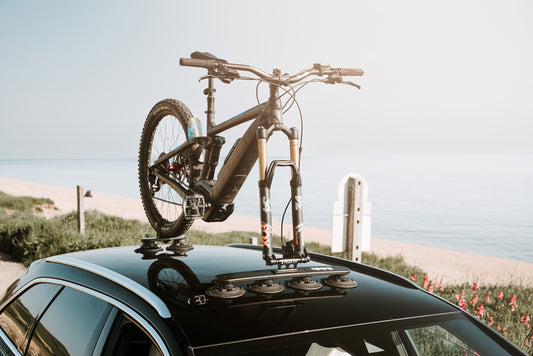
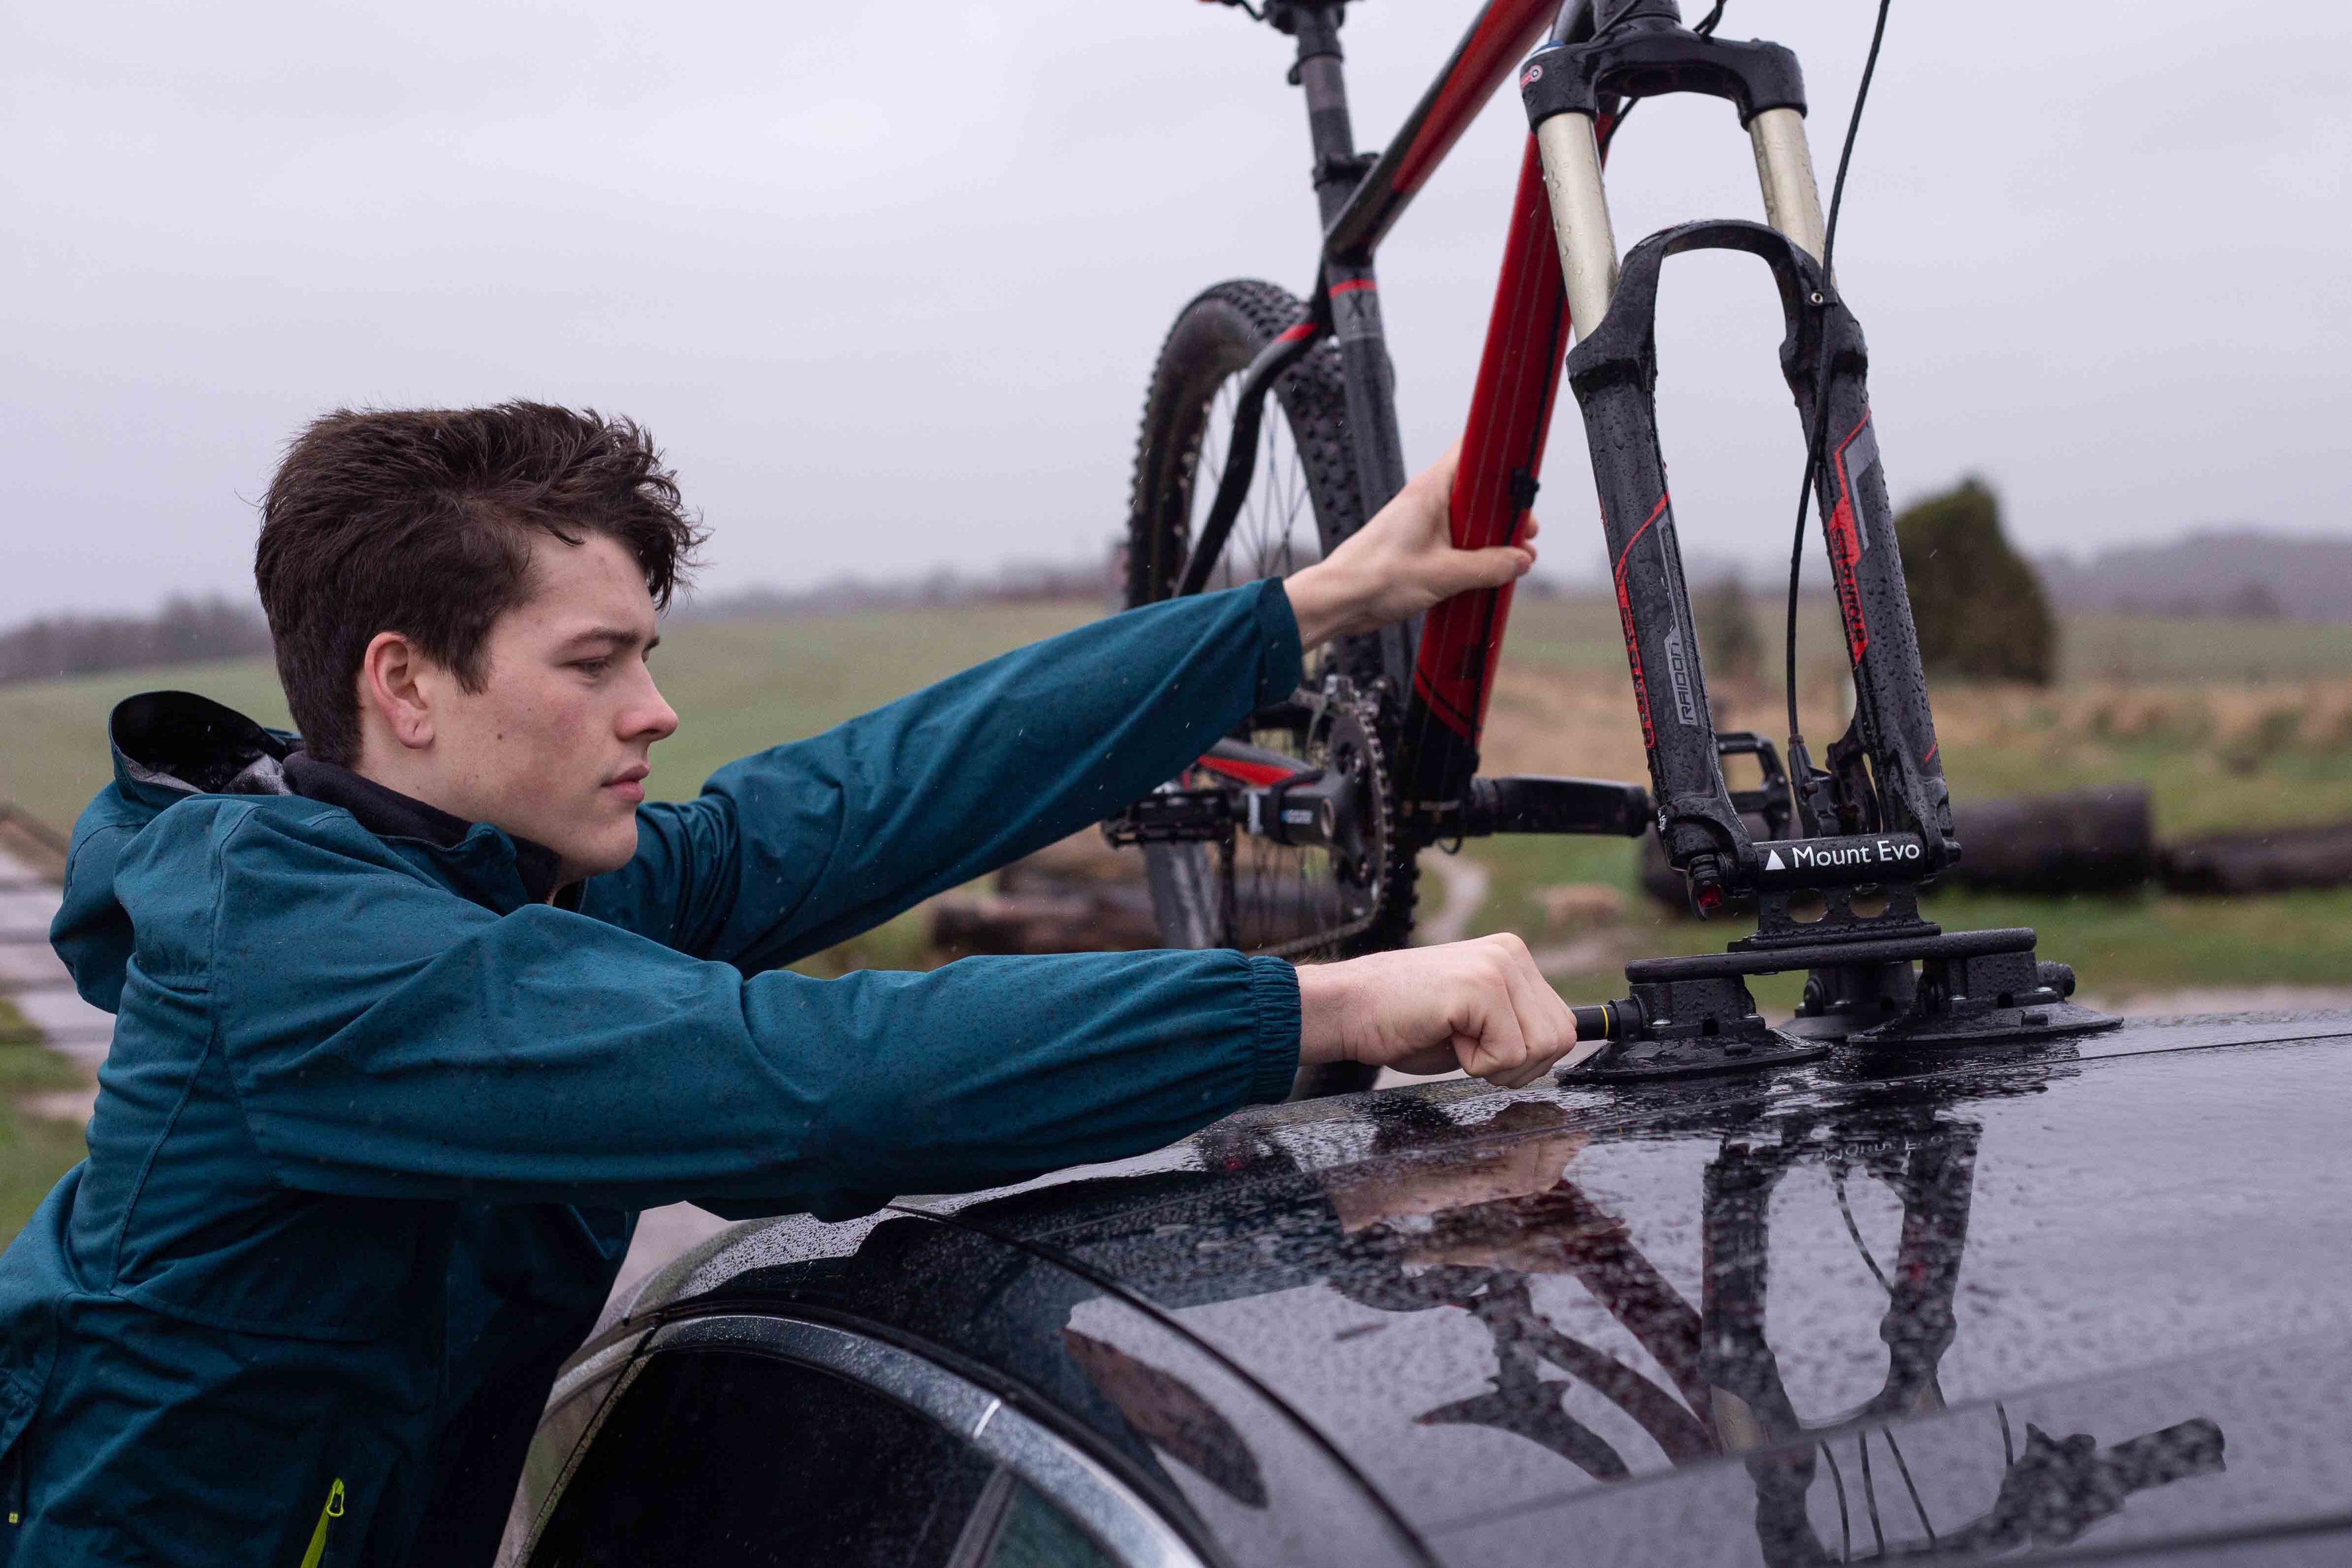
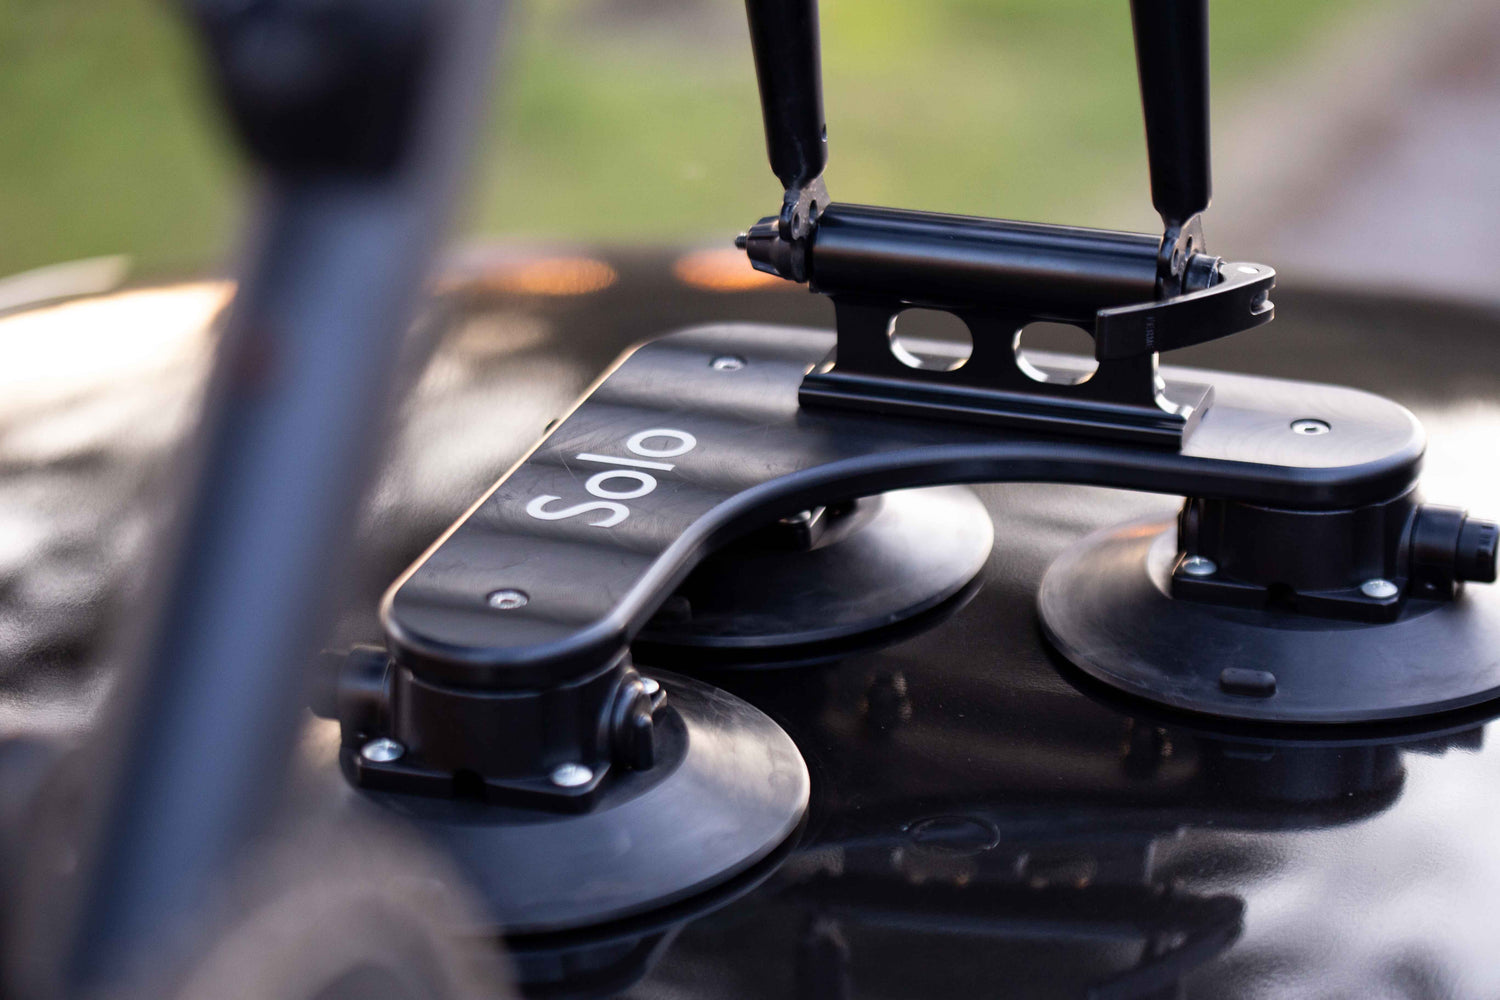
De fiets wordt aan Solo bevestigd door uw voorwiel te verwijderen en uw fiets aan de vorkhouder op Solo te bevestigen alsof het het wiel is dat u vervangt. Bevestig de cranks aan het frame met de meegeleverde riem voordat u de fiets op de auto zet.
Plaatsing op de auto
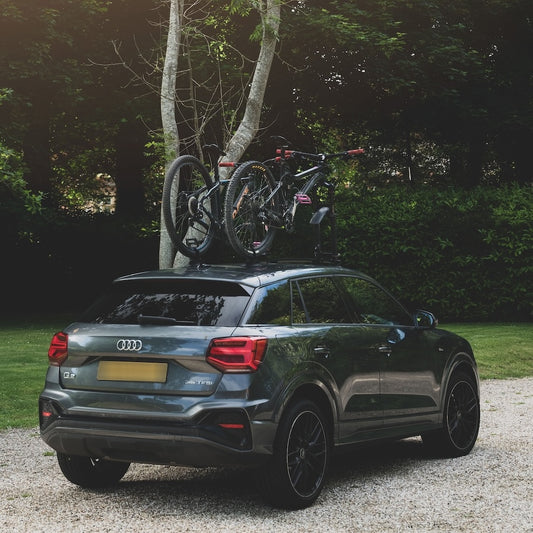
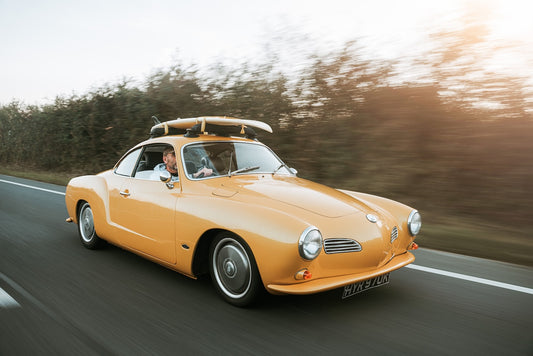
Waar je Solo monteert is niet van tevoren bepaald. Met Solo kun je je fiets overal op de voorruit, het dak, het schuifdak, de kofferbak of de tonneau cover monteren, op voorwaarde dat de fiets naar voren gericht is.
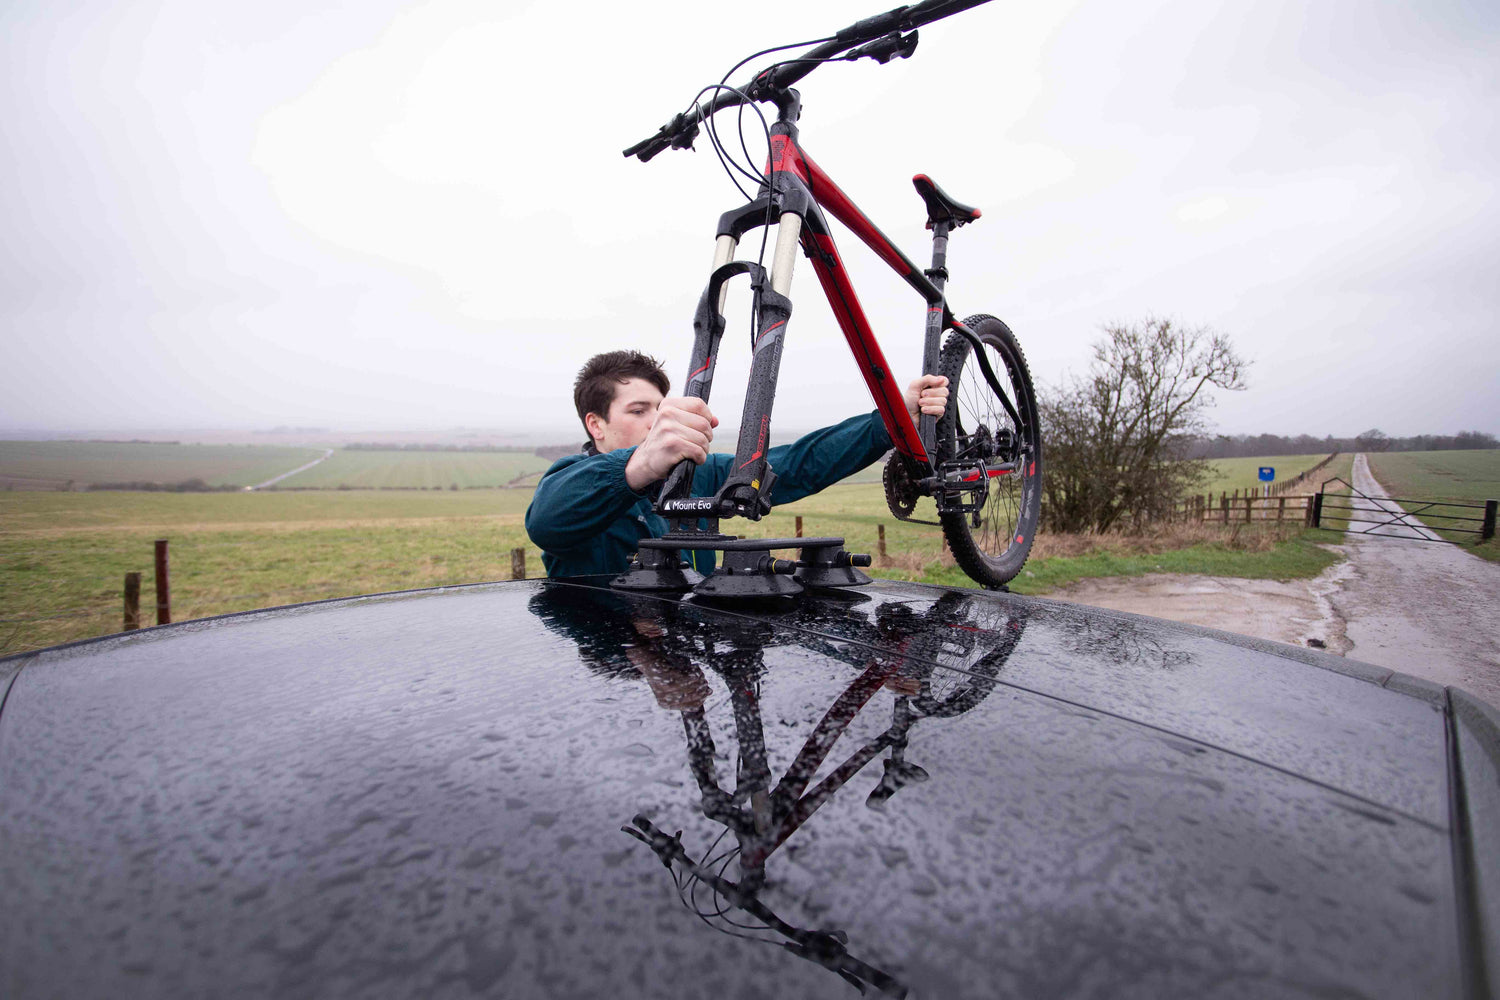
Solo monteren op je auto
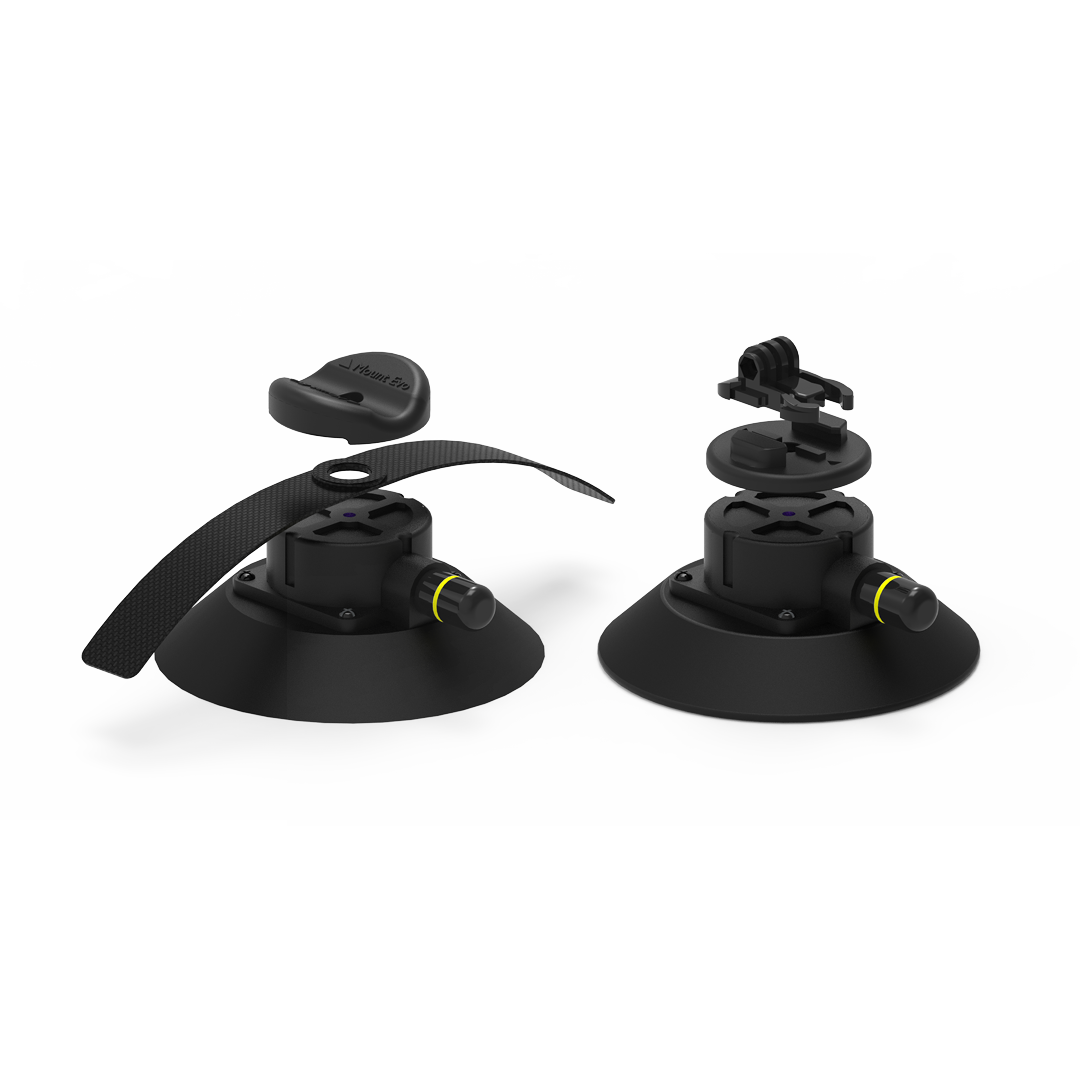
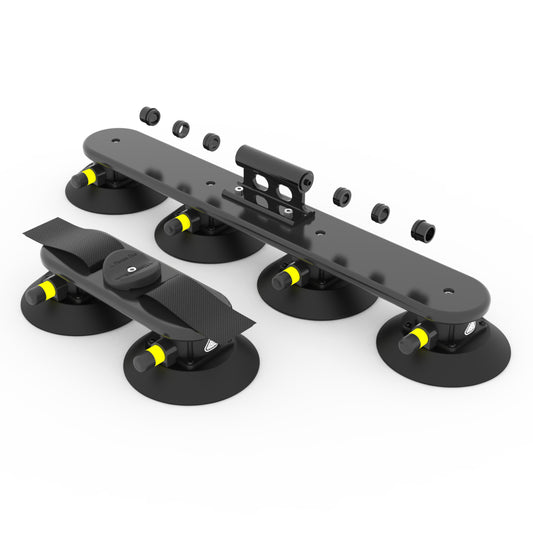
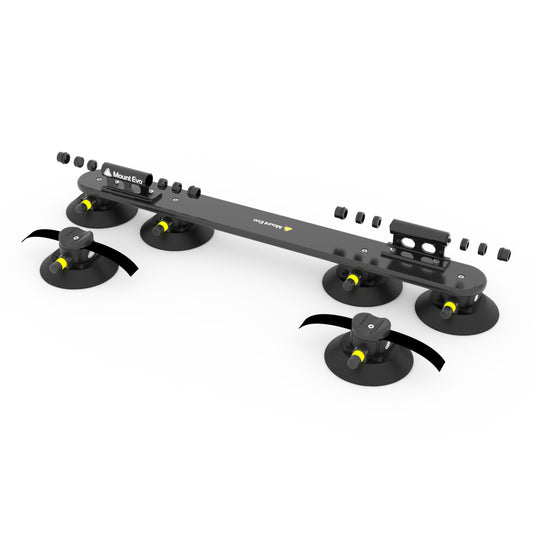
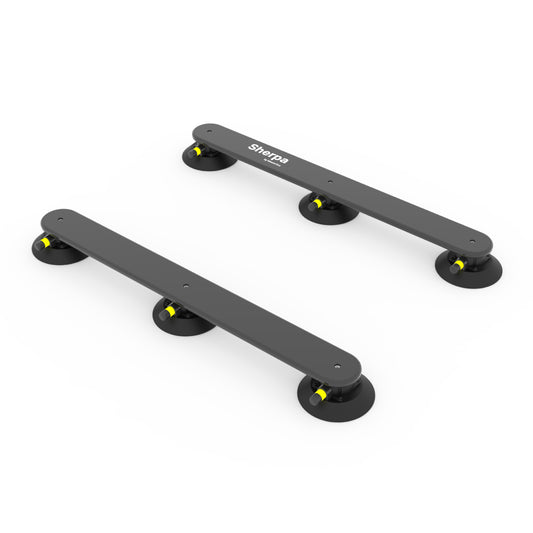
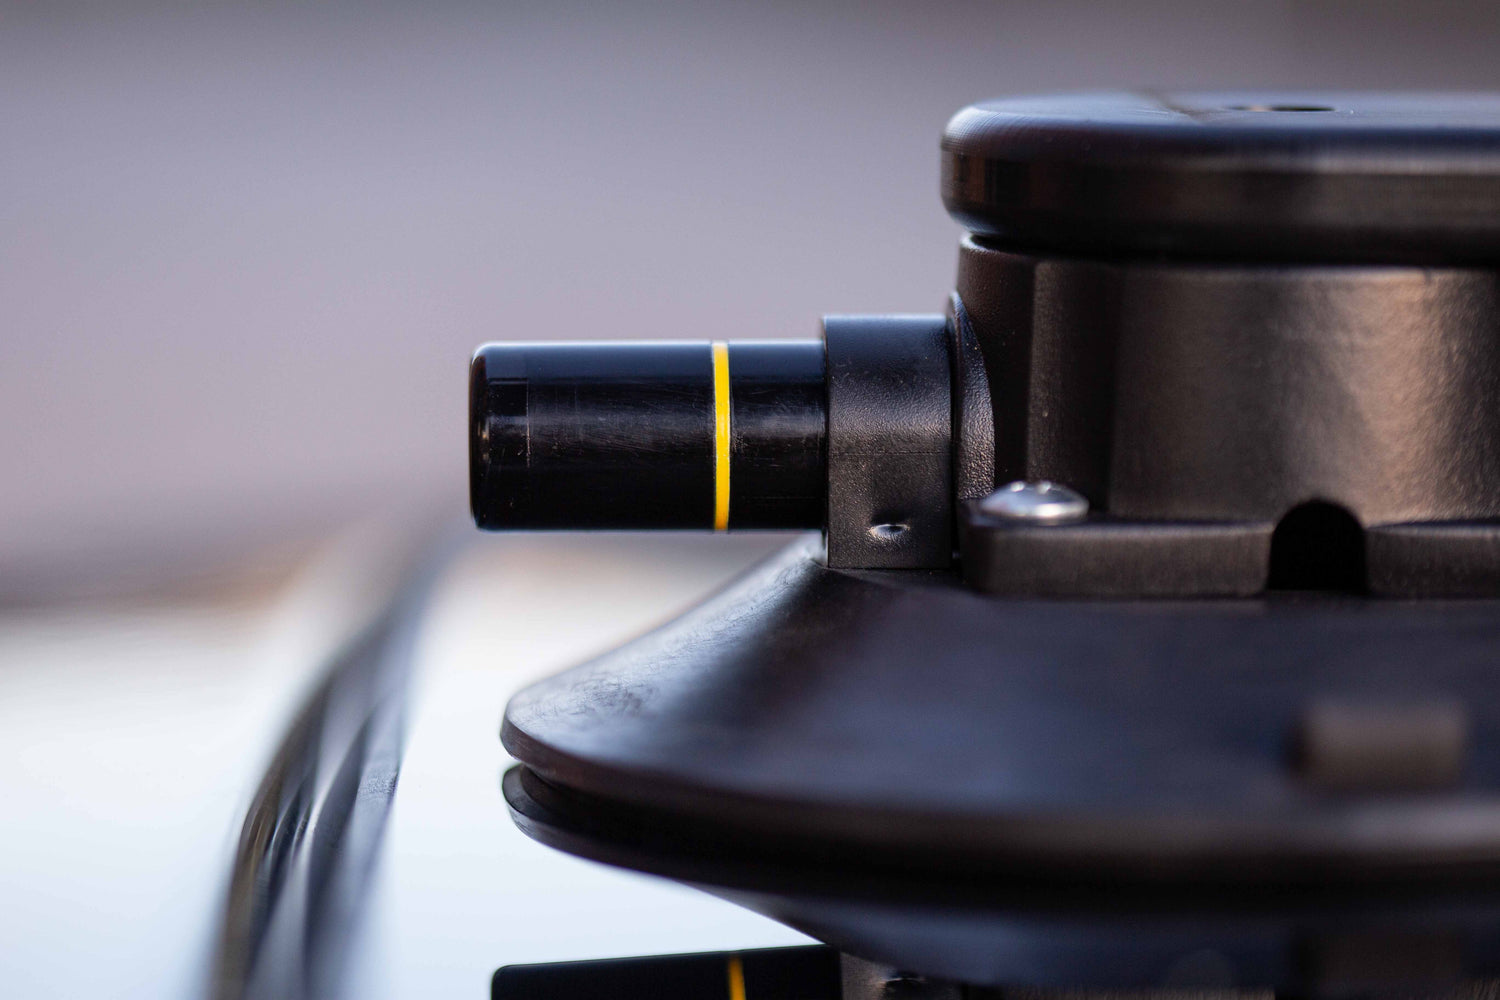
Maak met een doek en water het gebied waar Solo komt te staan grondig schoon. Plaats de Solo met bevestigde fiets op de auto. Eenmaal op zijn plek begint u te pompen met de zuiger aan de zijkant van elke vacuümcup. Als de gekleurde band op elke zuiger niet meer zichtbaar is, is Solo vastgezet. Zo eenvoudig is het. Het achterwiel wordt vastgezet door de achterwielhouder onder uw achterwiel te monteren. De klittenbandjes zetten het wiel vast.
Hoe verwijder ik Solo
Solo uit je auto verwijderen
Het verwijderen van Solo uit uw auto is eenvoudig. Terwijl u uw fiets vasthoudt, tilt u het lipje op elk van de vacuümcups omhoog. Hierdoor wordt het vacuüm opgeheven en kunt u de fiets met Solo erop verwijderen.
Je fiets uit Solo halen
Om uw fiets van de Solo te halen, draait u de steekas los of maakt u de snelspanner los. Hierdoor komt uw fiets los van de Solo. Nu kunt u uw voorwiel weer monteren en genieten van de rit!
Je apparatuur vervoeren.
-
Solo fietsenrek
Normale prijs €299,99 EURNormale prijsEenheidsprijs / per€299,99 EURAanbiedingsprijs €299,99 EUR -
E-Solo Elektrisch Fietsenrek
Normale prijs €399,99 EURNormale prijsEenheidsprijs / per -
Duo Fietsenrek
Normale prijs €399,99 EURNormale prijsEenheidsprijs / per€399,99 EURAanbiedingsprijs €399,99 EUR -
Tidal Surfplank en SUP dakdrager
Normale prijs €399,99 EURNormale prijsEenheidsprijs / per€399,99 EURAanbiedingsprijs €399,99 EUR

